


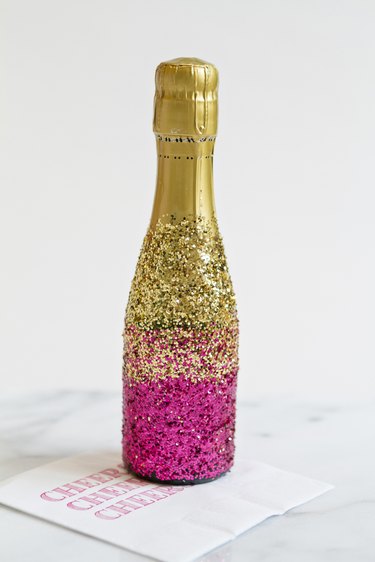
There is nothing like champagne to take a celebration to the next level. Champagne is the perfect gift to bring to dinner parties, to pop on your birthday or to gift in wedding welcome baskets. This tutorial for adding glitter to mini-champagne bottles will help you take something ordinary and turn it into something special! Read on to learn how you can achieve this look for your next party.
Video of the Day
Things You’ll Need
-
Mini-champagne bottles
-
Pink and gold glitter
-
Glue
-
Paintbrush
-
Acrylic sealer
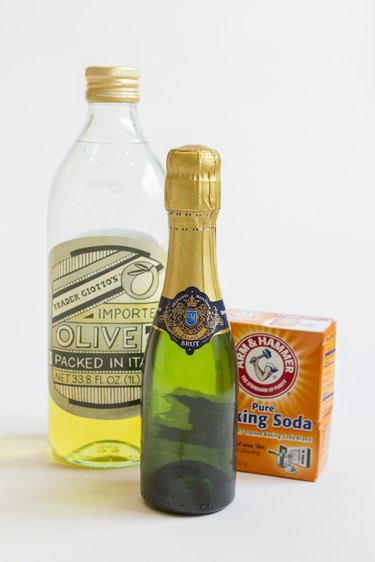
Step 1: Remove Champagne Labels
Clean the labels off your mini-champagne bottles using a mixture of olive oil and baking soda. Peel as much of the champagne label off as you can. Then mix an equal amount of olive oil and baking soda in a small dish. Using your hands, spread a thick layer of the mixture over the remaining label and glue. Leave this to sit for 10-15 minutes. Once the time has passed run the mini champagne bottle under water and scrub away the label.
Tip
The mixture should help you easily remove the glue and champagne label. If it does not, apply more and wait a few extra minutes.
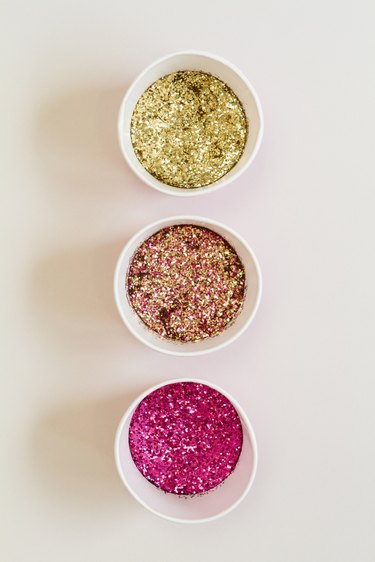
Step 2: Prep Your Colors
Before starting, you need to prepare your colors. To achieve the desired ombre effect, you will need two different colors of glitter. Using three shallow bowls, fill one with gold glitter, another with pink glitter and a third with a mixture of the two colors.
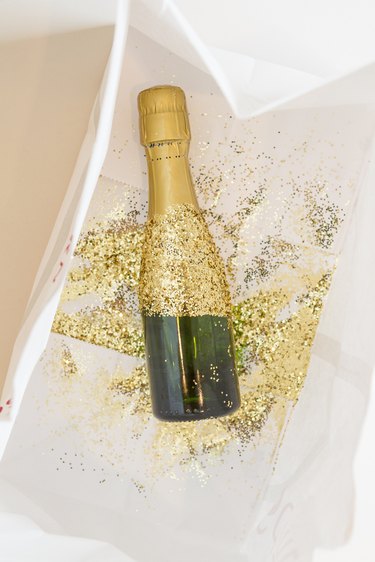
Step 3: Add Glitter
To cut down on mess and reduce glitter waste, create a work area using half of a paper grocery bag. Using a paintbrush, apply glue to the top third area of the champagne bottle. Place your bottle inside the paper grocery bag and sprinkle the top with gold glitter.
Tip
It is best to place the gold glitter at the top of the bottle so it matches the gold foil.
Step 4: Create an Ombre Design
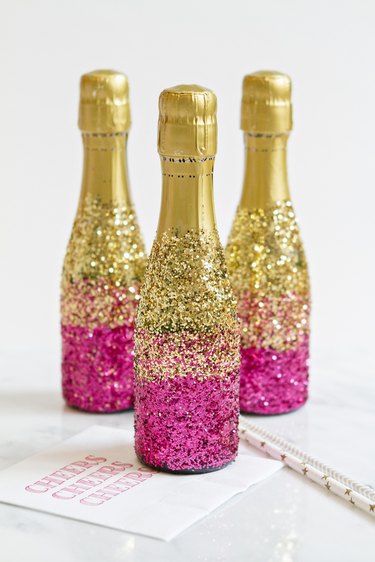
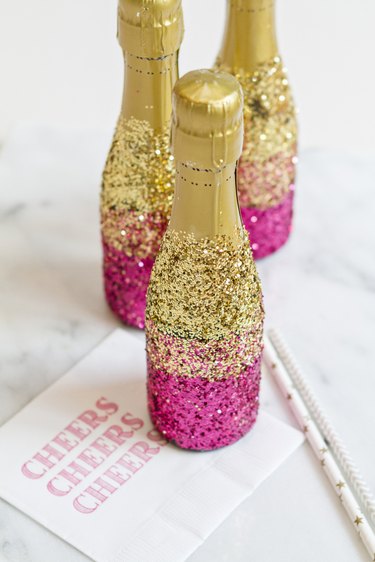
Work your way down the bottle, first applying glue and then glitter. After the gold glitter, apply the mixed shade, and then the solid pink to complete the ombre design. If you use a larger bottle, you can mix more shades of pink and gold to create further gradients but since these bottles are so small three shades work perfectly.
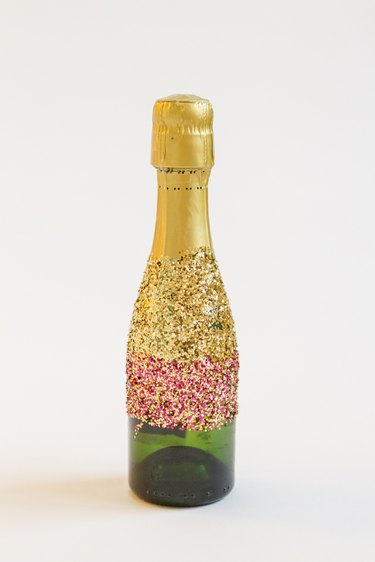
Step 5: Finish Your Mini-Champgane Bottles
Finish your glitter champagne bottles with a quick spray of acrylic sealer to minimize shedding. Bring one of these bottles the next time you are invited to someone's house for dinner and you are sure to be a popular guest!


